ProDino Ethernet
Examples
ProDino Ethernet examples suggest you how to use your board. The board details...
Table of Contents:
How to start with examples
Following next steps
- 1If you don not install our library with examples, see here...
- 2In Arduino IDE selects File>Examples>KMPDinoEthernet>(example name)
- 3Click over the button "Verify"
- 4Press the button "Upload"
Warning: If your local network address is not in range 192.168.1.1 - 192.168.1.254, you should change _ip address variable (in sketch) with free IP address from your network. An example: your network is: 192.168.0.x. You change IP address to 192.168.0.199. After you upload your sketch in ProDino Ethernet board, it will response from the new address.
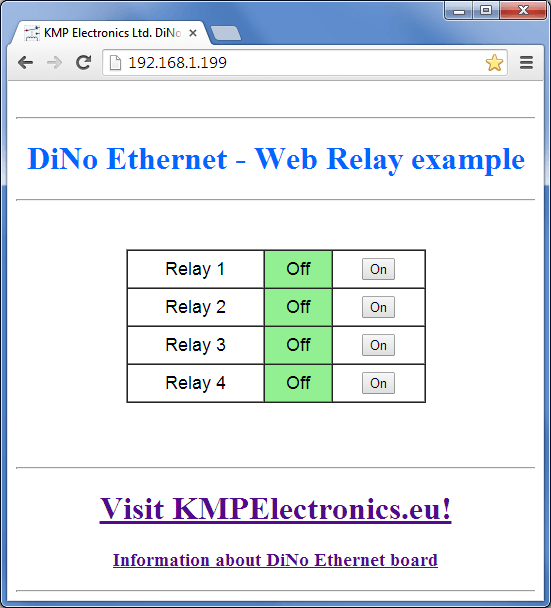
Relays control through web page (WebRelay)
Opening your browser
Enter the address http://192.168.1.199/. You should see this:

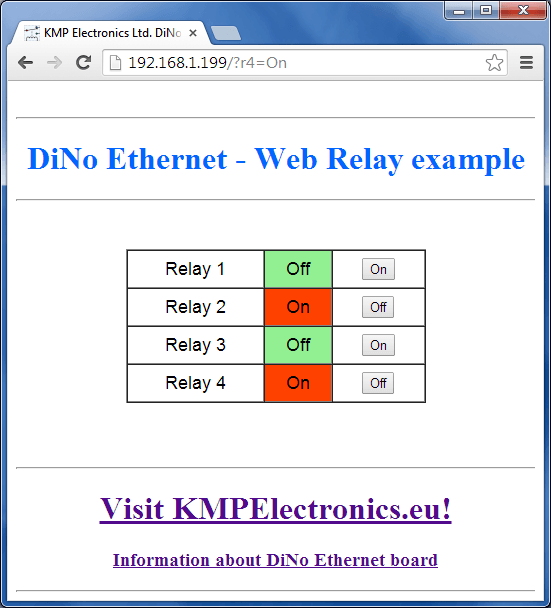
After you clicked over "On" buttons by "Relay 2" and "Relay 4".
The following appears:

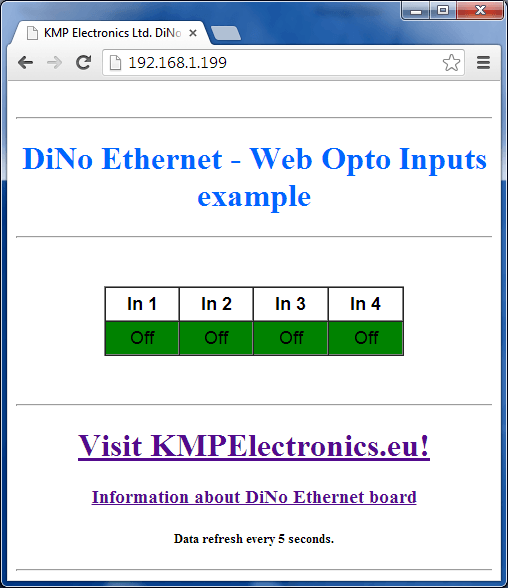
Optical isolated inputs check (WebOptoInputs)
Opening your browser
Enter the address http://192.168.1.199/.You should see this:

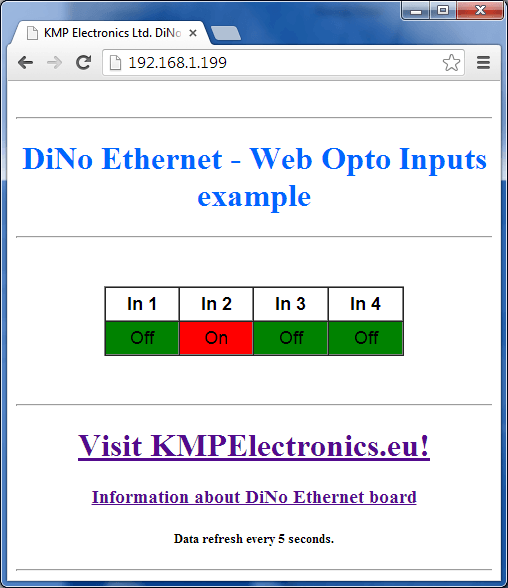
After you supply voltage on input 2, the result is

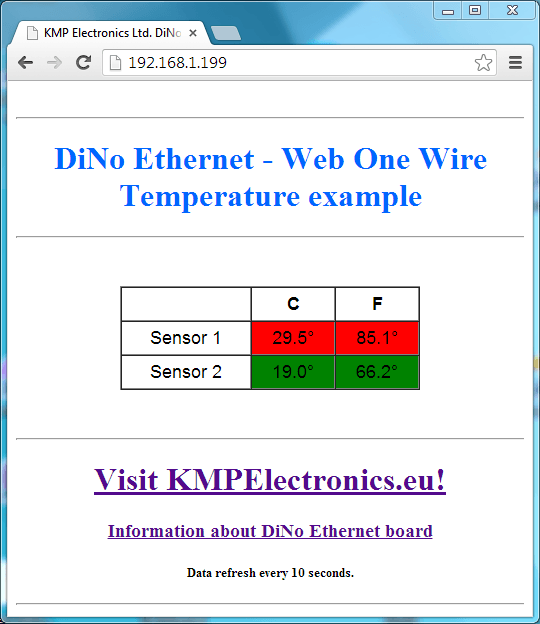
One Wire temperature check (WebTemperature)
Prerequisites: you should connect one or more 1-Wire Digital Thermometer DS18B20 or DS18S20 with you board.
Opening your browser
Enter the address http://192.168.1.199/. You should see this:

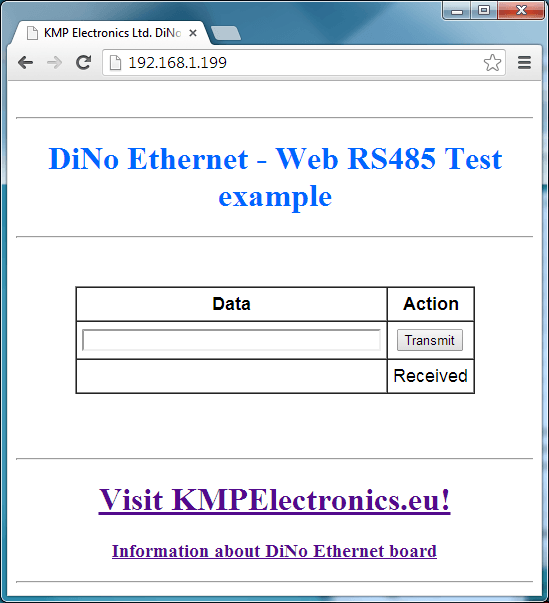
RS485 Test (WebRS485)
Prerequisites: you should connect a RS485 repeater on your RS485 board connector.
Opening your browser
Enter the address http://192.168.1.199/. You should see this:

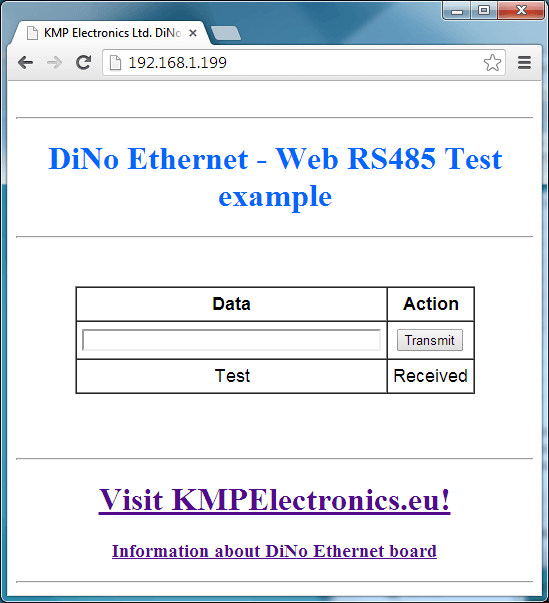
Entering the “Test” and you press the Transmit button
It is the result of successfully sent. The repeater sent same data back.

RS485 HEX Test (WebRS485Hex)
Prerequisites: you should connect a RS485 repeater on your RS485 board connector.
This example is similar example above. The difference is that input and output data are converted to HEX.
Enter the address http://192.168.1.199/. You should see this:

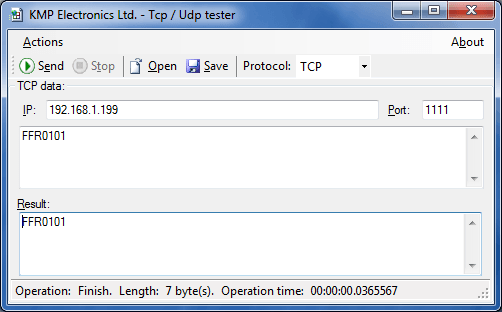
TCP relay control(TcpRelay)
Prerequisites: you should get some TCP tester or download our application "KMP Tcp / Udp Tester"
The commands are:
To turn ON relays 2 and 4: FFR0101

Turn OFF all Relays : FFR0000
Turn ON all Relays : FFR11111
TCP Optical isolated inputs check (TcpOptoInput)
Prerequisites: TCP tester.
If you Enter the command FFI, the board get information about optical inputs.
If on Input 2 has 1, the result is:

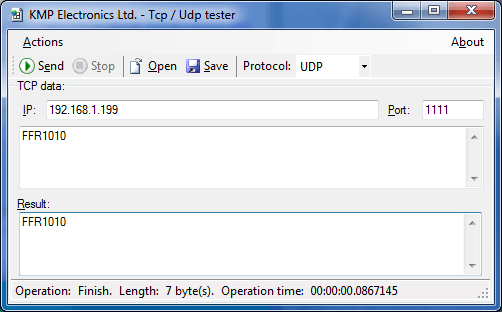
UDP relay control(UdpRelay)
Prerequisites: you should get some UDP tester or download our application "KMP Tcp / Udp Tester"
To turn ON relays 2 and 4, use the command: FFR0101

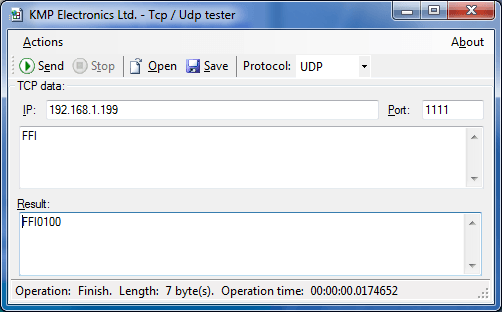
UDP Optical isolated inputs check (UdpOptoInput)
Prerequisites: UDP tester application
Use the command FFI the board get information about optical inputs.
If Input 2 has 1, the result is:

ProDino Internet Relay (projects/ProDinoIntRelay)
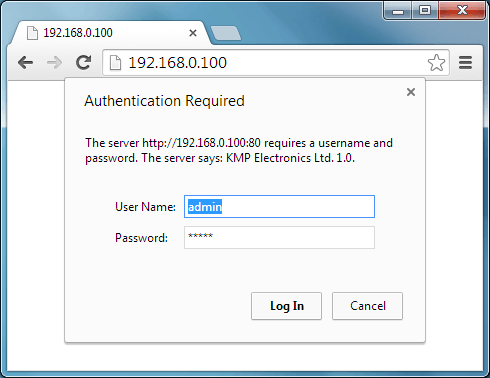
Login in the system
Open your browser and enter the address http://192.168.0.100/.
Default credential is:
- user name: admin
- password: admin

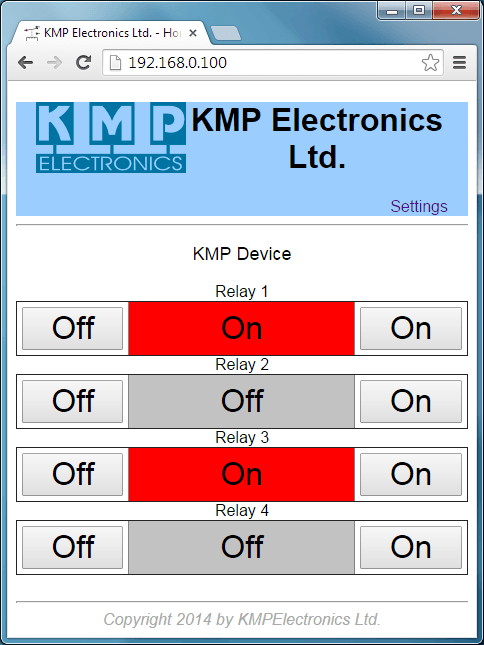
A home page
After the user login in the system page appears, control relays:

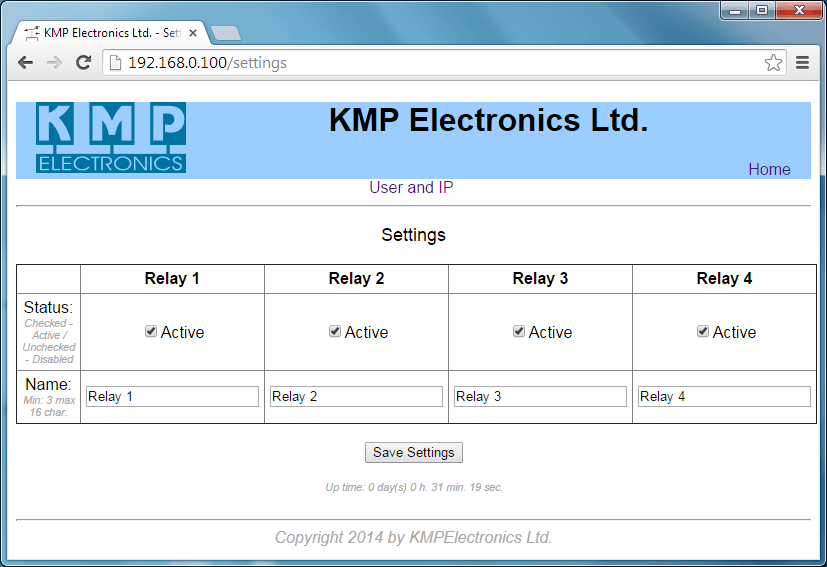
Relay settings
In home page click over settings link:

Here you can set relay. Enable or disable it and change the relay name.
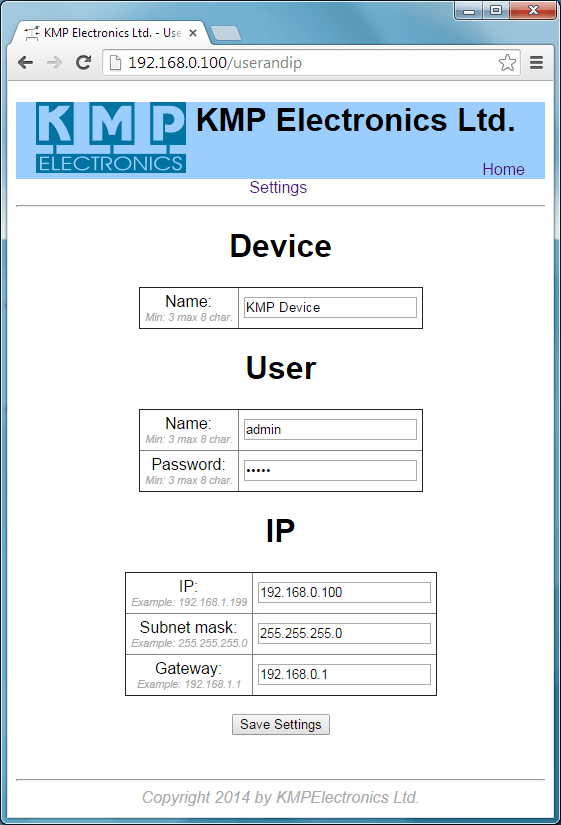
Setting the name of device, user name and password and IP addresses
From a Settings page, select the link "User and IP".

The default device configuration is:
- Name: KMP Device
- User name: admin
- Password: admin
- IP: 192.168.0.100
- Subnet mask: 255.255.255.0
- Gateway: 192.168.0.1